Marble Cake Recipe (Oven-Baked): A Swirl of East African Sweetness
-
There’s something magical about the smell of cake wafting through a home on a lazy Sunday afternoon. In many households, that sweet aroma often signals one thing: a simple yet delightful marble cake is in the oven. It’s the kind of cake you bake when family’s coming over, when you're craving something sweet with your chai, or just because you feel like spoiling yourself a little.
This recipe combines soft vanilla and rich chocolate in a beautiful swirl—familiar, nostalgic, and perfect for sharing. Because we know everyone’s kitchen and diet are a little different, we’ve added easy tips for making it dairy-free, egg-free, or lower in sugar.
Let’s bake something special, shall we?
-
What Makes This Cake Special?
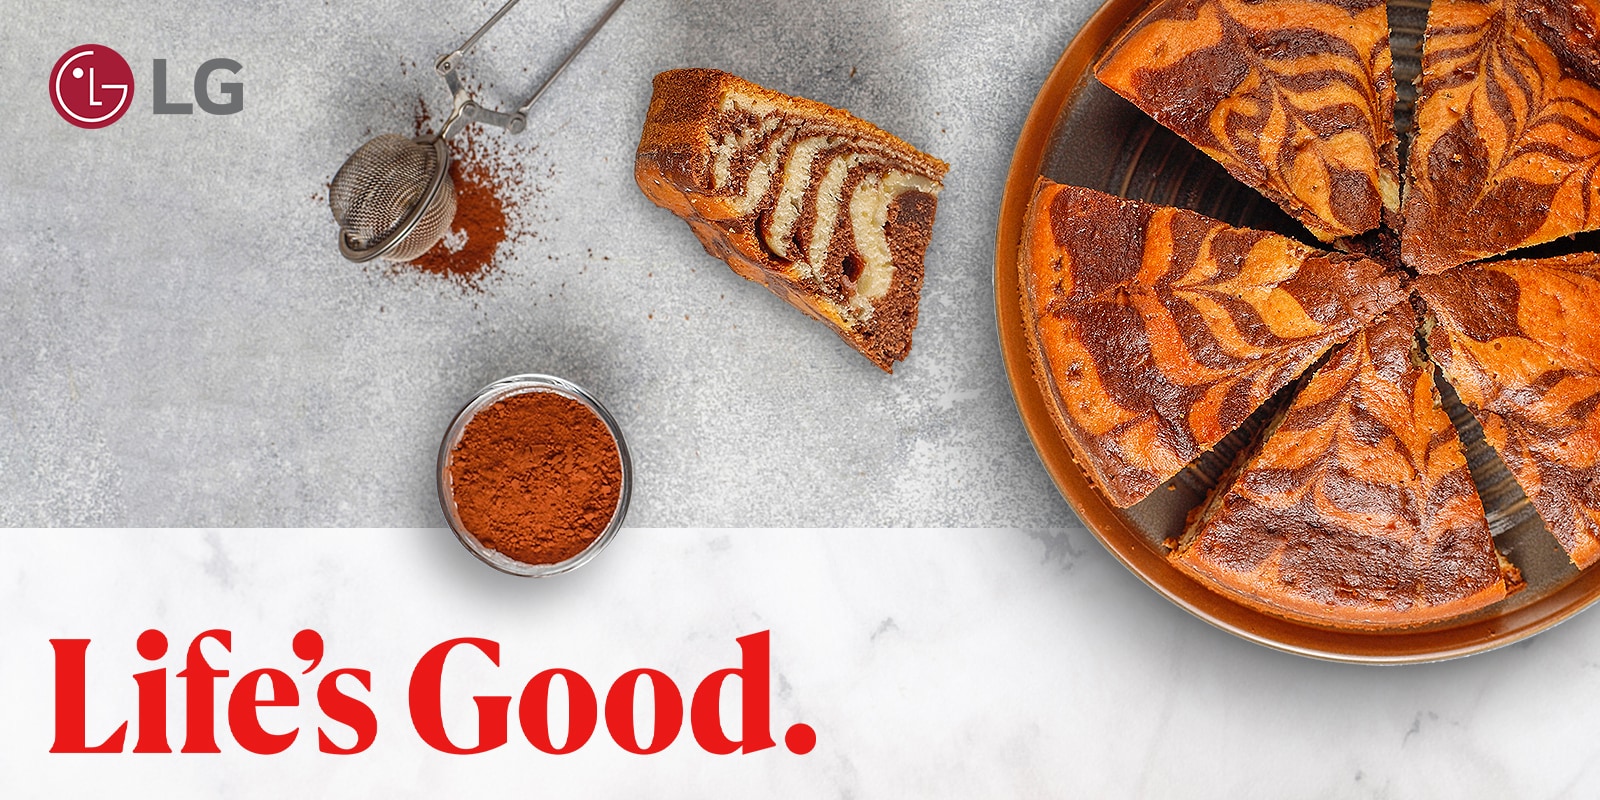
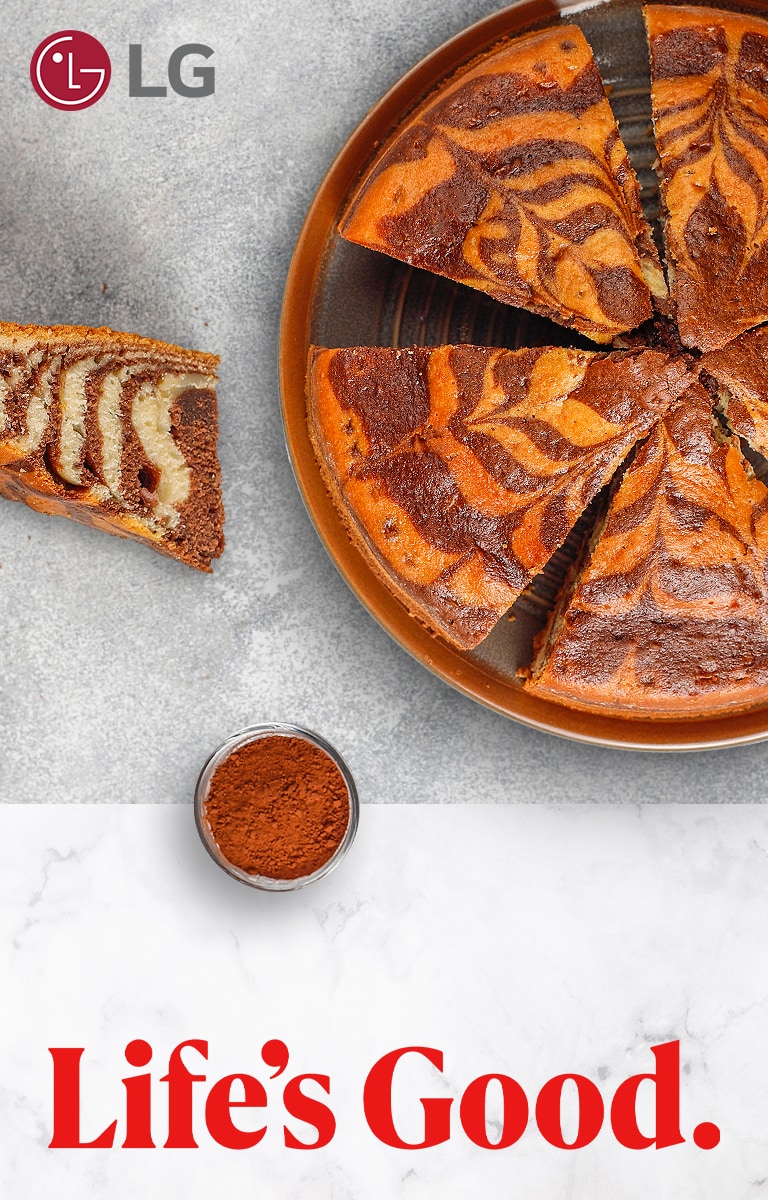
The marble cake is inspired by traditional East African baking—simple ingredients, familiar flavors, and that warm, homey touch. We’re using margarine (a common staple here), milk, eggs, and a pinch of cardamom to give it that unmistakable Swahili Coast flair. It’s soft, lightly sweet, and beautifully marbled; no two slices are alike!
-
Ingredients
• 2 cups all-purpose flour (sifted)
• 1 tablespoon baking powder
• Pinch of salt
• 1 cup margarine or butter, softened
• 1 cup sugar
• 2 large eggs
• 1 teaspoon vanilla extract (or seeds from ½ a vanilla pod)
• ⅓ cup milk
• 3 tablespoons cocoa powder (for the chocolate batter)
• ½ teaspoon ground cardamom or cinnamon (optional)
Tip: All your ingredients should be at room temperature for best results.
-
Step-by-Step Guide
Step 1: Preheat Your Oven
Set your oven to 175°C (350°F).
Grease and line a medium-sized cake tin (a 9-inch round or loaf pan works perfectly).
This step is key for easy release after baking.
Step 2: Create the Vanilla Batter
In a large bowl, cream the softened butter and sugar until light and fluffy (3-5 mins). This is what gives the cake its soft texture.
Add the eggs one at a time, beating well after each. Mix in the vanilla and optional cardamom.
Step 3: Mix in the Flour and Milk
Sift your flour, baking powder, and salt together. Gently fold them into your wet mixture, alternating with the milk.
Step 4: Create the Chocolate Batter
Scoop about a third of your vanilla batter into a separate bowl and stir in the cocoa powder. If it feels too thick, add a splash of milk.
Step 5: Layer and Swirl
In your prepared baking tin, alternate large spoonfuls of vanilla and chocolate batter. Then swirl gently with a knife or skewer for that signature marble effect.
Crucial tip: Do not over-swirl. Over-swirling creates a muddy look.
Step 6: Bake
Place the cake tin into your preheated oven and bake for 35 to 45 minutes.
Start checking at 30 minutes. Insert a skewer or toothpick into the center of the cake—if it comes out clean or with just a few moist crumbs, your cake is ready. If there’s wet batter, give it a few more minutes and check again.
Step 7. Cool and Serve
Let the cake cool in the tin for 10 minutes before turning it onto a wire rack. Slice and serve warm or once fully cooled.
-
Pro Tips
• Sift your flour well; it keeps the cake soft.
• Use room-temperature ingredients for the best texture.
• Avoid overmixing once flour is in; fold gently.
-
Dietary Variations
Dairy-Free
• Use plant-based margarine or coconut oil.
• Swap milk for coconut, almond, or oat milk.
Egg-Free
• Replace each egg with a flax egg (1 tablespoon ground flax + 3 tablespoons water).
• Or use ¼ cup applesauce or ½ mashed banana per egg.
Low-Sugar
• Cut sugar by ⅓ or replace it with coconut sugar, erythritol, or a stevia blend.
• Add a dash of cinnamon or vanilla to boost sweetness naturally.
Serving Ideas
Serve your marble cake with:
• A hot cup of Kenyan chai or Tanzanian spiced tea
• Fresh fruit on the side
• A dusting of powdered sugar
• Or enjoy it plain—still perfect
Making marble cake is always a joy. Even if your swirls aren’t perfect the first time, it’ll still taste delicious. The more you bake, the easier it gets. So grab your mixing bowl, have some fun, and enjoy the recipe.