We use cookies, including cookies from third parties, to enhance your user experience and the effectiveness of our marketing activities. These cookies are performance, analytics and advertising cookies, please see our Privacy and Cookie policy for further information. If you agree to all of our cookies select “Accept all” or select “Cookie Settings” to see which cookies we use and choose which ones you would like to accept.
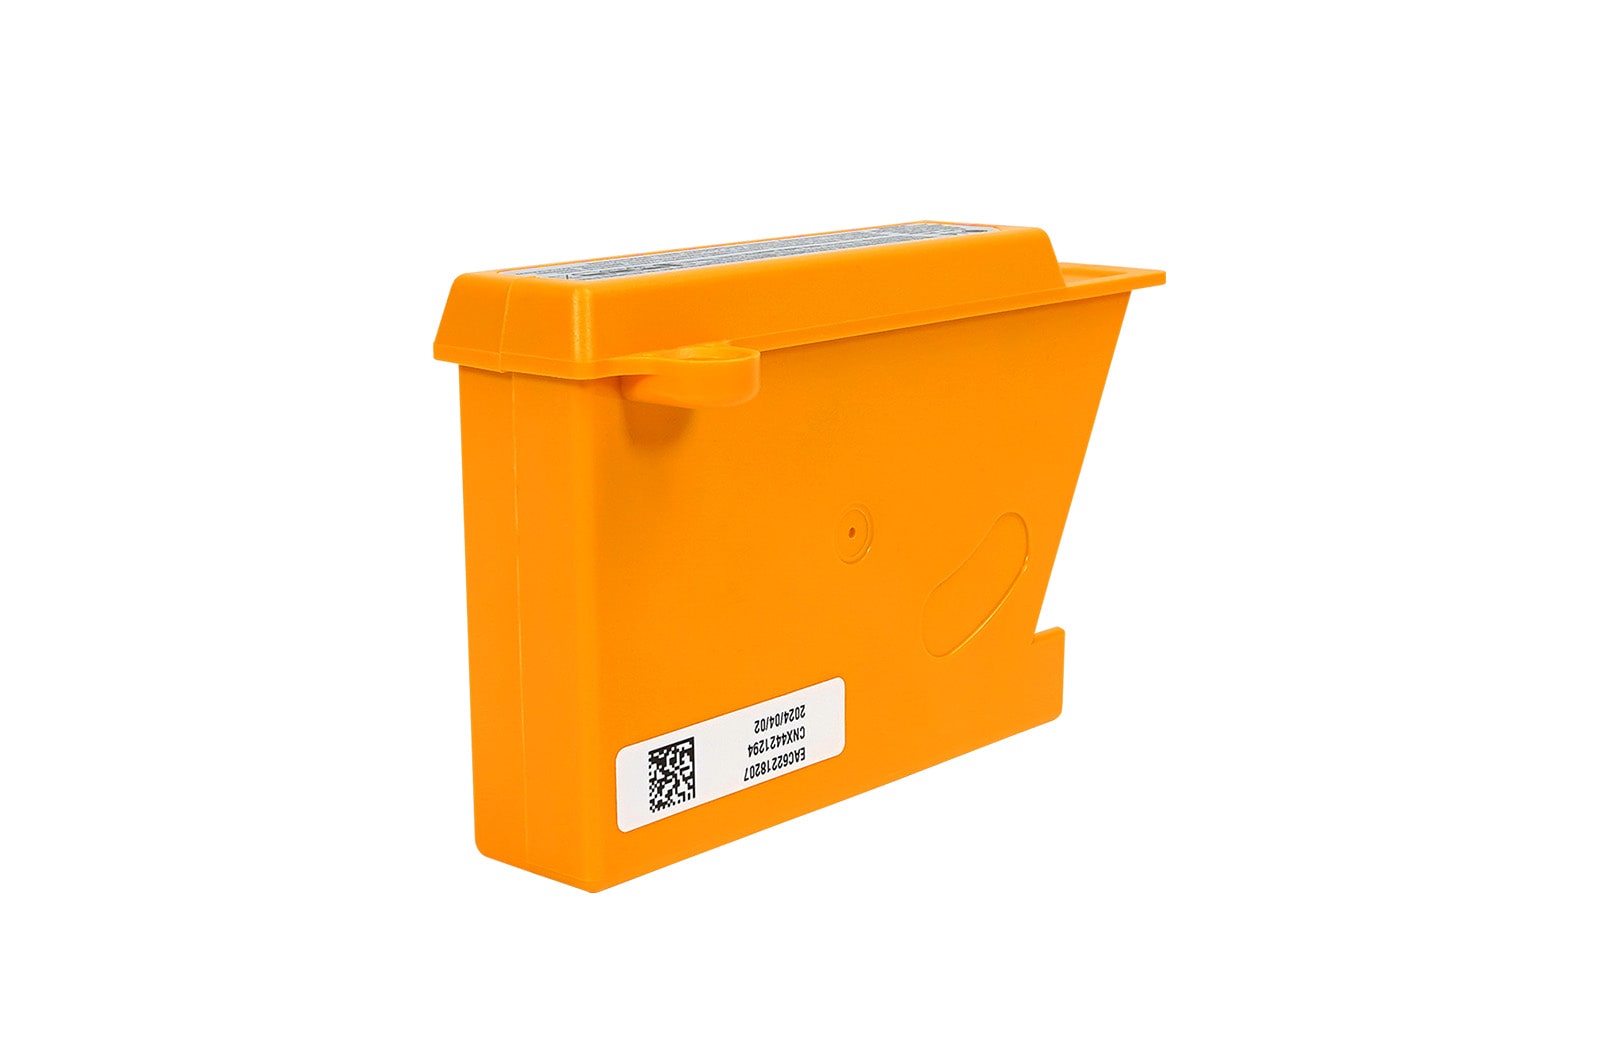
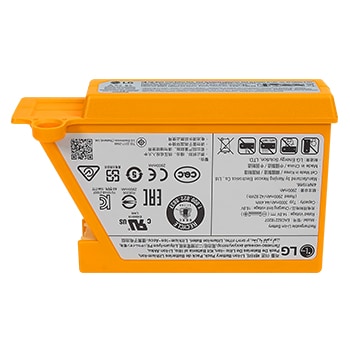
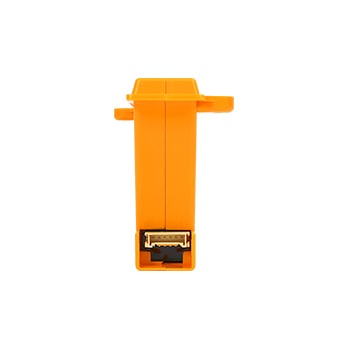
Robot Cleaner Battery (2,330mAh)
Key Features
- LG Robot Cleaner Genuine Battery 2,330mAh
- Hombot Roboking Battery
- M9 Dual-Spin Mopping Robot Battery
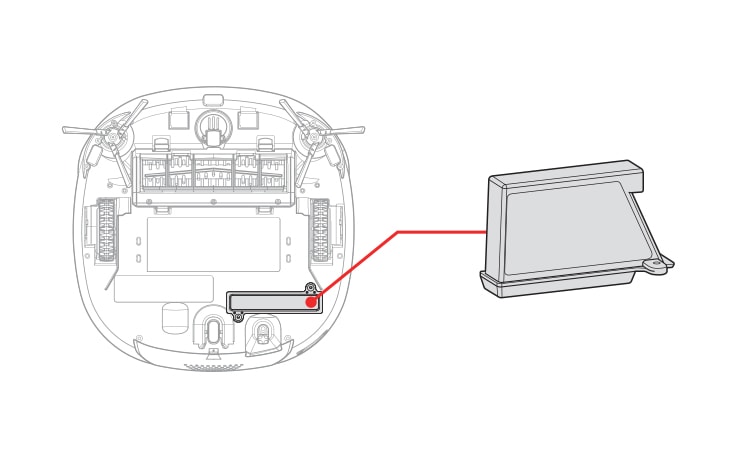
Mounting Location
The actual installation location of this item may vary depending on product model.
For more detailed information, please refer to the product manual for your model.
How to Replace
The replacement instruction for this item may differ slightly from the information below.
For more detailed information, please refer to the product manual for your model.
Robot Cleaner
STEP 1
Turn off the main power switch on the back-left side of the robot cleaner.
Place a soft cloth on the floor, remove the dust bin, and flip the robot cleaner over.

STEP 2
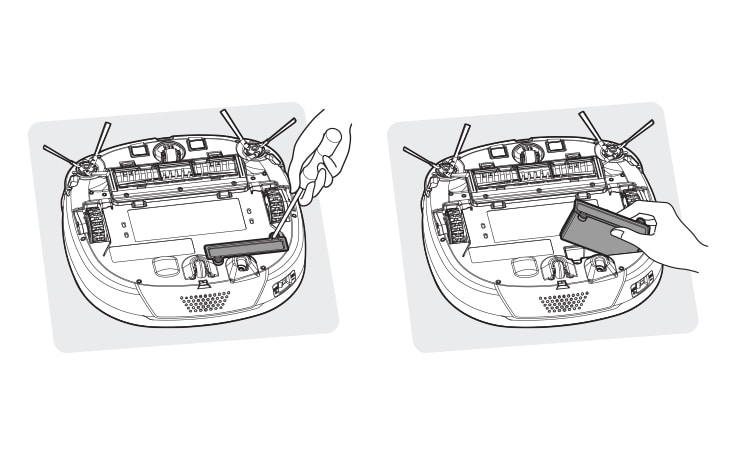
Insert a thin screwdriver into the groove under the battery to lift it out.
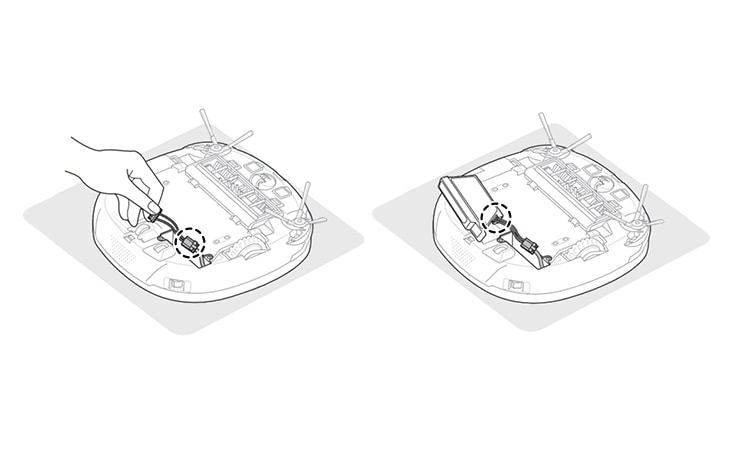
After lifting the battery from the mopping robot cleaner, press the hook of the connector connected to the battery to separate the battery.
STEP 3
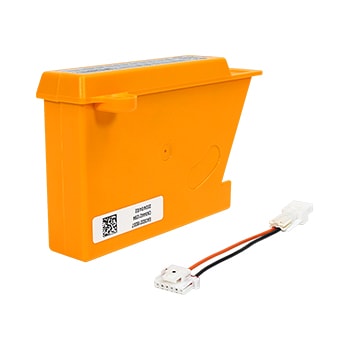
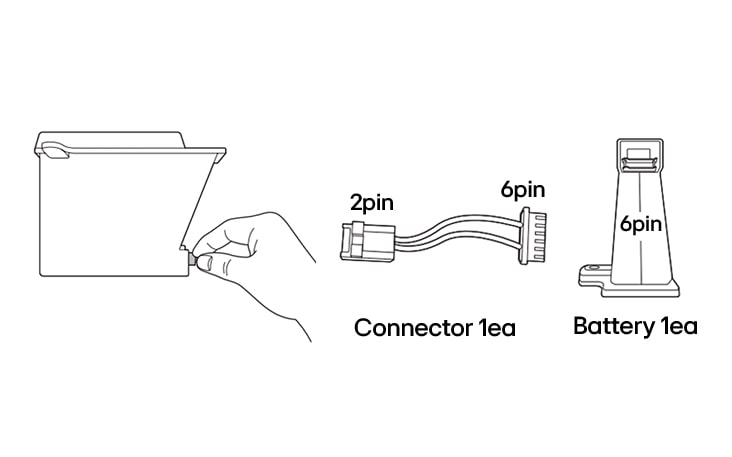
Prepare a replacement battery and a compatible connector.
STEP 4
Connect the 2-pin end of the connector to the mopping robot cleaner harness.
Connect the 6-pin end of the connector to the replacement battery.
STEP 5
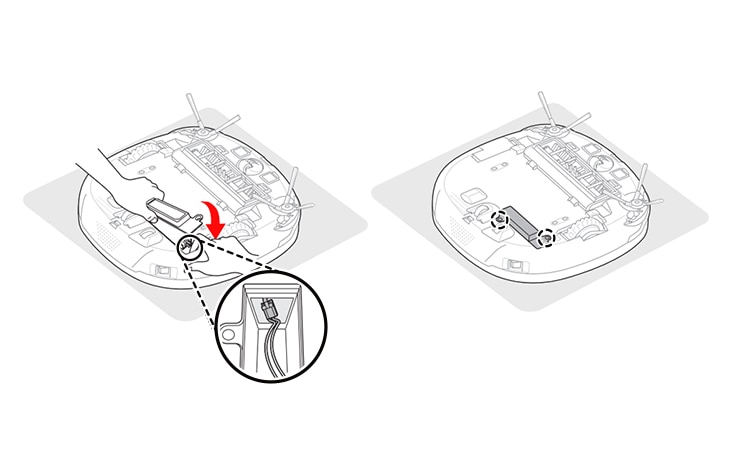
Place the battery into its compartment while folding the connector into the inner space.
Secure the battery with the two screws removed earlier.
Mopping Robot Cleaner
STEP 1
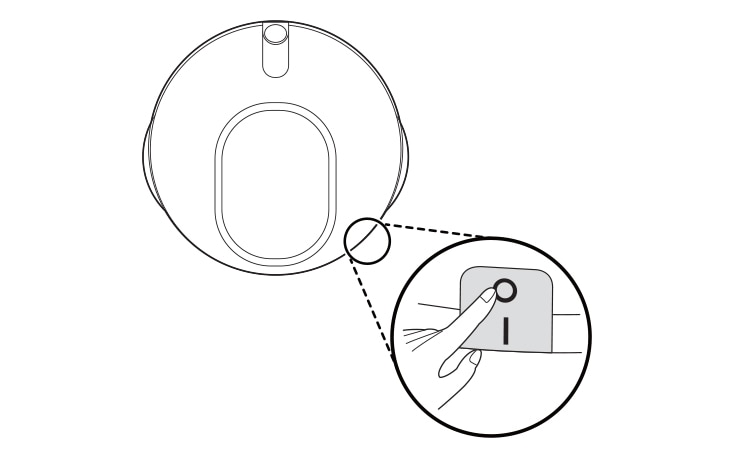
Before replacing the battery, press the power switch of the mopping robot cleaner to power it off.
STEP 2
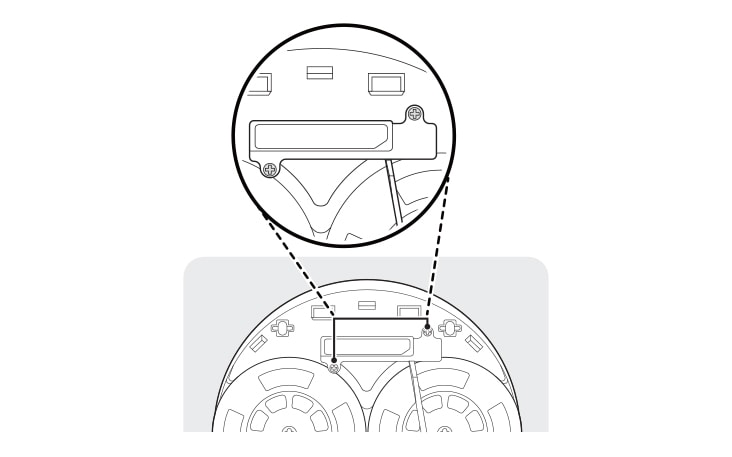
Place a soft cloth on the floor and turn the mopping robot cleaner upside down on the cloth.
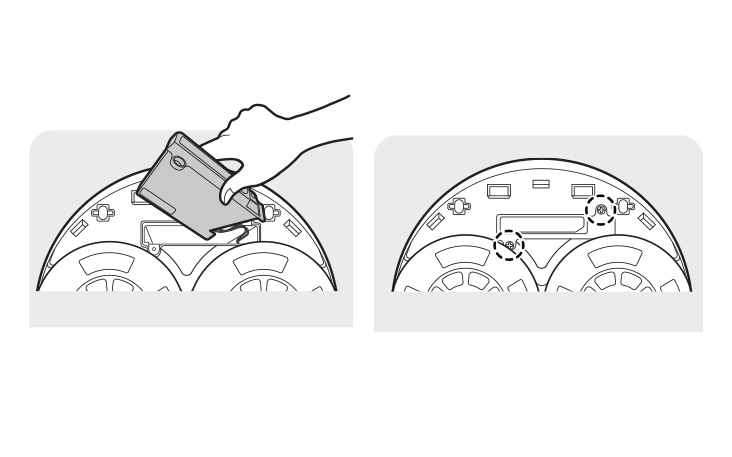
Use a screwdriver to loosen the two screws that secure the battery.
STEP 3
Insert a thin screwdriver into the groove under the battery to lift it out.
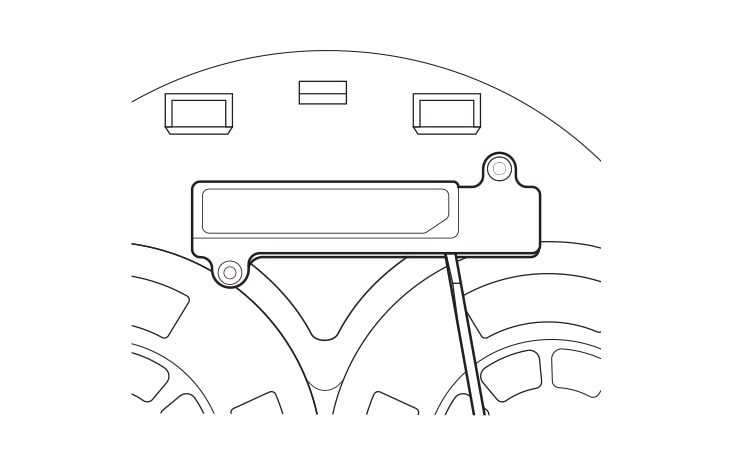
STEP 4
After lifting the battery from the mopping robot cleaner, press the hook of the connector connected to the battery to separate the battery.

STEP 5
Prepare a replacement battery and a compatible connector.
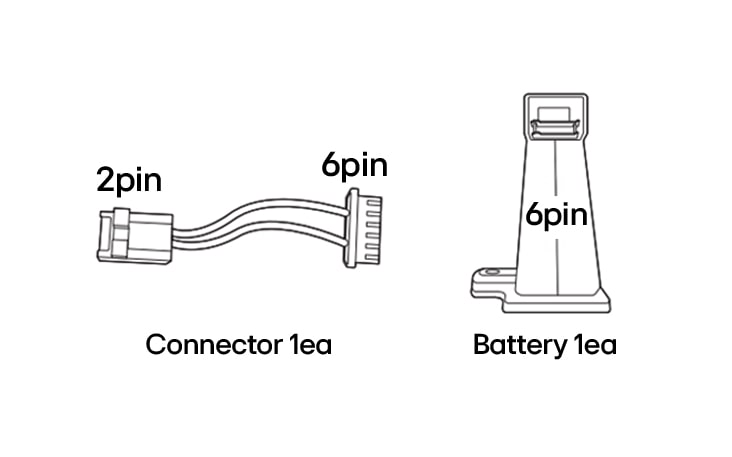
STEP 6
Connect the 2-pin end of the connector to the mopping robot cleaner harness.
Connect the 6-pin end of the connector to the replacement battery.

STEP 7
Place the battery into its compartment while folding the connector into the inner space.
Secure the battery with the two screws removed earlier.
* Product images and features may contain advertising expressions and may differ from the actual product. Product appearance, specifications, etc. may change without prior notice for product improvement.
* All product images are photo cuts and may differ from the actual product. Product color may vary depending on monitor resolution, brightness settings, and computer specifications.
* The performance of the product may vary depending on the usage environment, and availability may vary by store.
Gallery
Summary
Dimensions
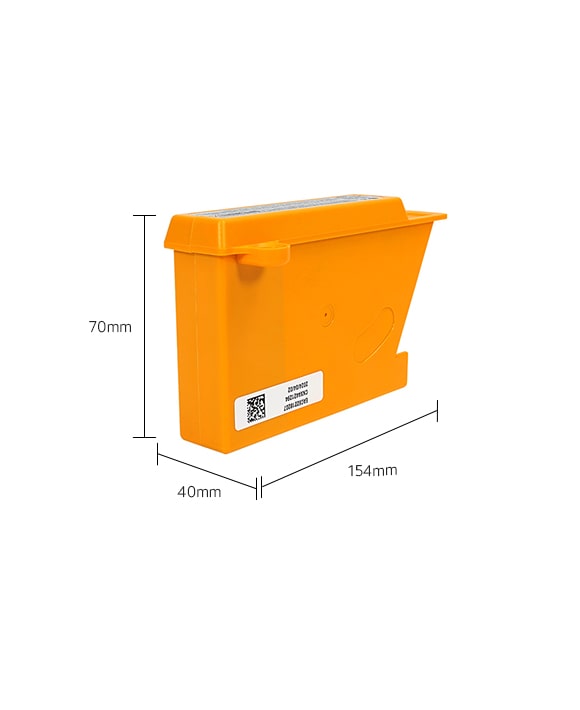
All specs
GENERAL
-
Parts Number
AGM30061001
What people are saying
Find locally
Our picks for you
-
Manual& Software
Download product manuals and latest software for your product.
-
Troubleshoot
Find helpful how-to videos for your product.
-
Product Warranty
Check your product warranty information here.
-
Accessories Warranty
Check your accessories warranty information here.
-
Part & Accessory
Discover accessories for your product.
-
Product Registration
Registering your product will help you get faster support.
-
Order support
Track your order and check order FAQ.
-
Repair request
Repair request service conveniently online.
Contact Us
-
Live chat
Chat with LG Product Experts for shopping assistance, discounts and offers in real time
-
WhatsApp
Chat with LG Service Support using the most popular messenger
-
Email us
Send an Email to LG Service Support
-
Objet Platinum Care+
LG Objet premium support: priority assistance, expert help, and tailored solutions.
