This site uses cookies. By continuing to browse the site you are agreeing to our use of cookies. For more information, See our Privacy and Cookie Policy.
This function is disables on your cookie management.
To activate it, click on the link "Edit cookie settings" in the upper
right corner of this page.
LG.com Cookies
We use cookies to offer you a convenient web browsing experience, to suggest personalized ads for you, and to keep improving functions through traffic analysis.
By clicking on ‘ACCEPT ALL’, you consent to our use of cookies. Click ‘Cookie Settings’ to choose whether to accept or disable certain cookies. To find out more, please read our Privacy Policy. | Cookie Settings
These cookies are used to provide you with convenient functions, such as product reviews and product video playback, during your web browsing.
These cookies allows our website to keep improving functions through website traffic analysis and to suggest personalized content for you.
These cookies enable us to show you ads and other content that we think is most attuned to your interests and digital behavior.
This function is disables on your cookie management.
To activate it, click on the link "Edit cookie settings" in the upper
right corner of this page.
9/30/2022
30/9/2022
2022/09/30
The URL has been copied to the clipboard.
Let’s find out what to be mindful of when changing a compressor at the field of in the testing facilities.
Point 1. Pump Down.
Point 2. Turn Off the Power.
Point 3. Recovery of the Refrigerant.
Point 4. Uninstall the Outdoor Unit and Change the Compressor.
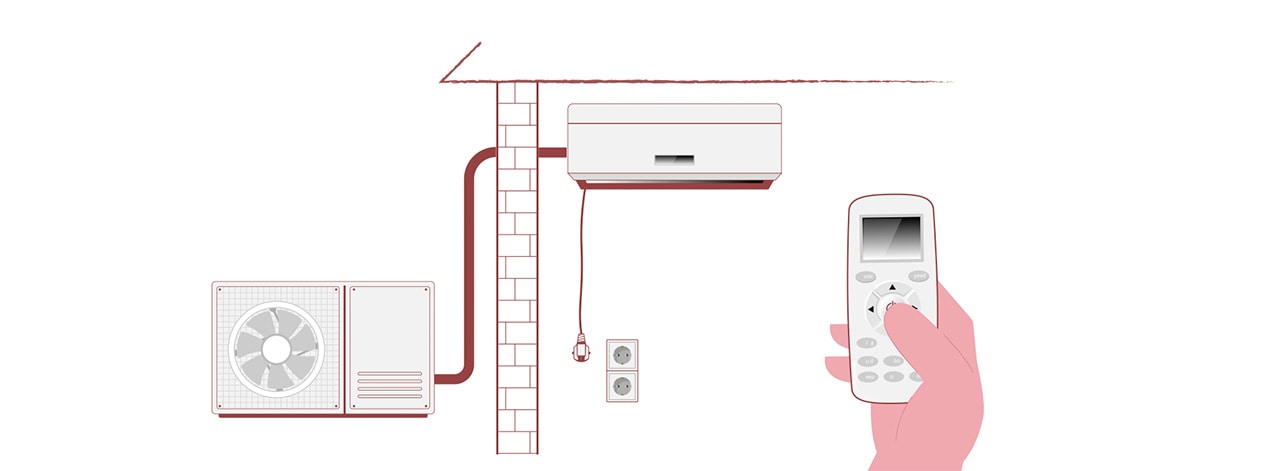
'During the cooling mode, the refrigerant and oil remaining in the indoor unit are collected and sent via the pump down process to the outdoor unit.
When disconnecting the outdoor unit, turn off the power to prevent electric shock. Make sure that the systems are completely off and double check by using the remote control.
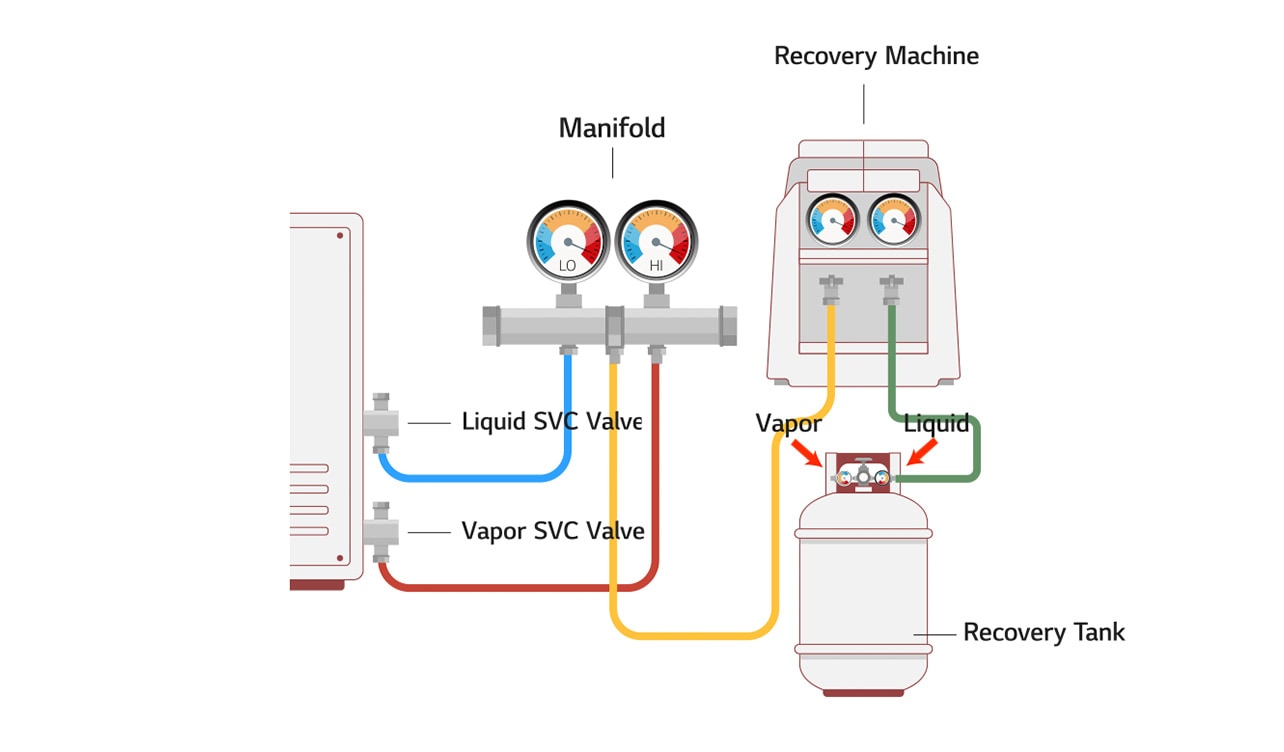
Recovery of all the Refrigerant before removing the compressor is an important process. If the refrigerant is not completely removed, when replacing the compressor, oil and refrigerant can react to the welding fire, which in turn could cause a small fire or create toxic gases.
After connecting the manifold, remove the air that’s in the hose with the purge. Open the liquid valve of the recovery tank and recover the refrigerant according to the recovery machine instructions.
*Before collecting the refrigerant, check the refrigerant recovery standards for each country and make sure the container is capable of recovering all the remaining refrigerant in the system.
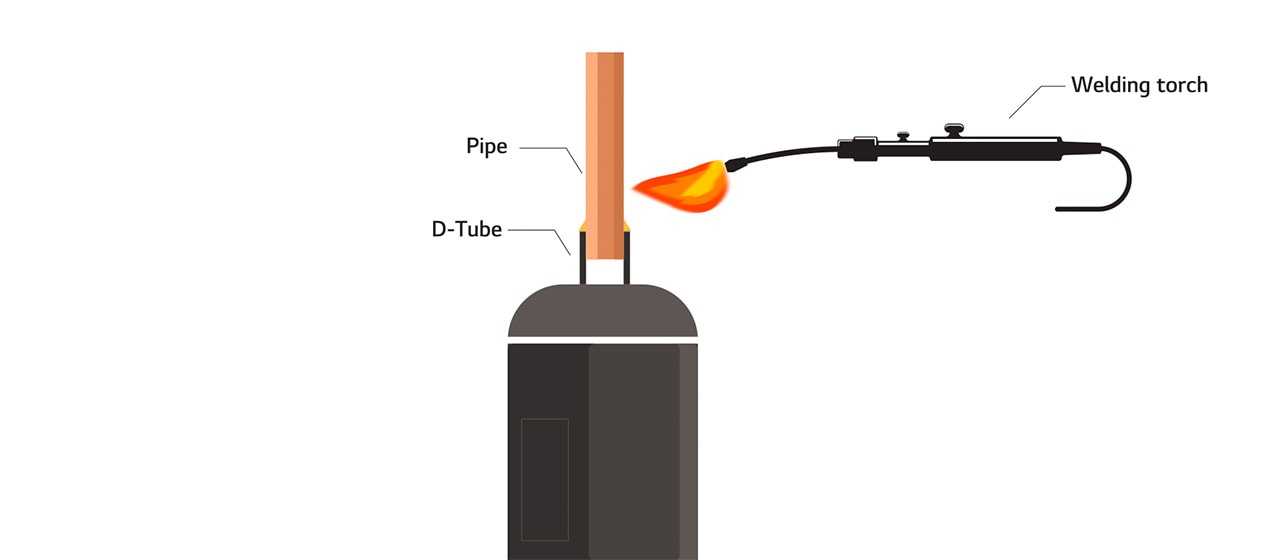
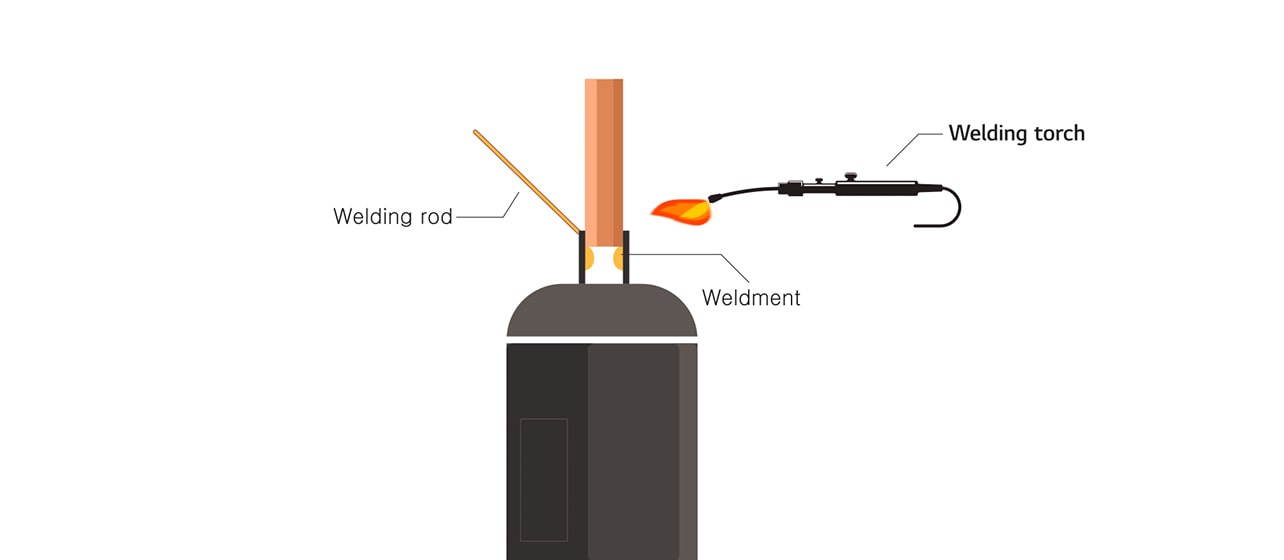
If throughout the welding process, excessive stress is applied to the pipe, the strength and condition of the pipe could weaken and become a problem in the future. Therefore, make sure to heat up the D-Tube of the compressor sufficiently to melt the weldment.
When welding together the new parts after replacing the compressor, make sure to check the previous weldment and its size so as to not clog the pipes.
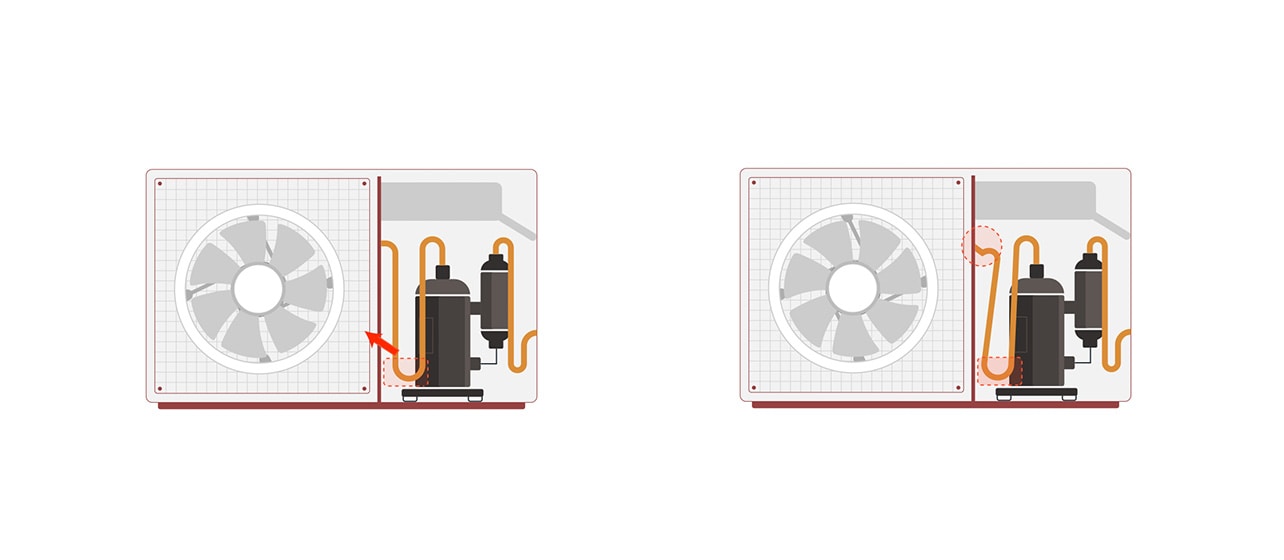
During the process of inserting and removing the compressor, it is dangerous to bend the pipes excessively to make space. It may cause noise problems, cycle formation or leakage problems in the product.
"The information contained in the article is released by LG Electronics and may not be used for
personal work. It may not be copied, reproduced, modified, decompiled, or reverse-engineered
into any other work without prior permission from LG Electronics."
*Products and solutions may vary according to country and operating conditions.
Please click the 'INQUIRY TO BUY' banner below to contact your local
LG office for further information on solutions and products.